- remove_red_eye 50
- favorite 0
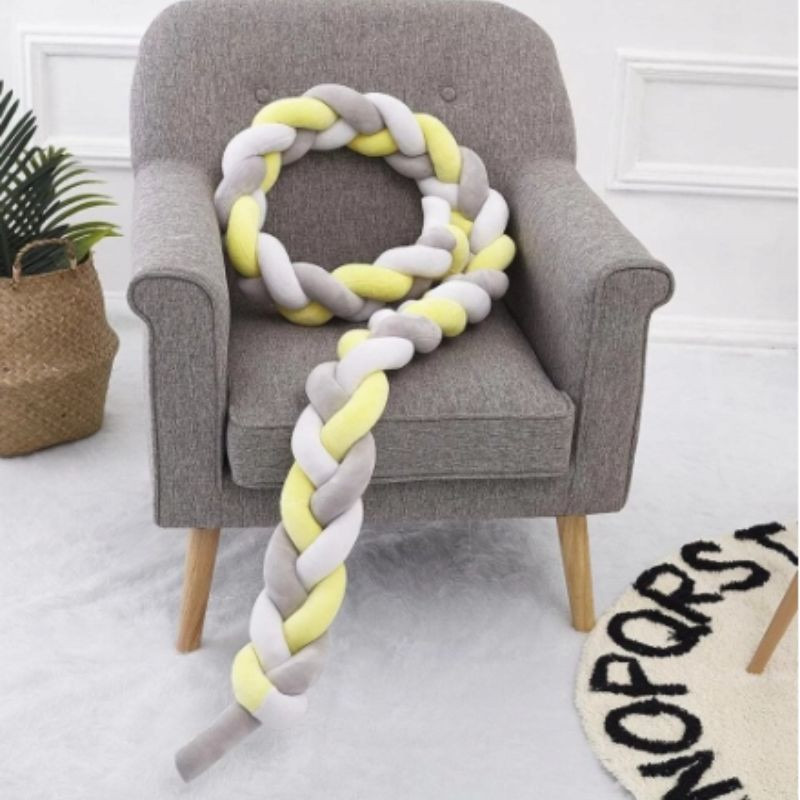
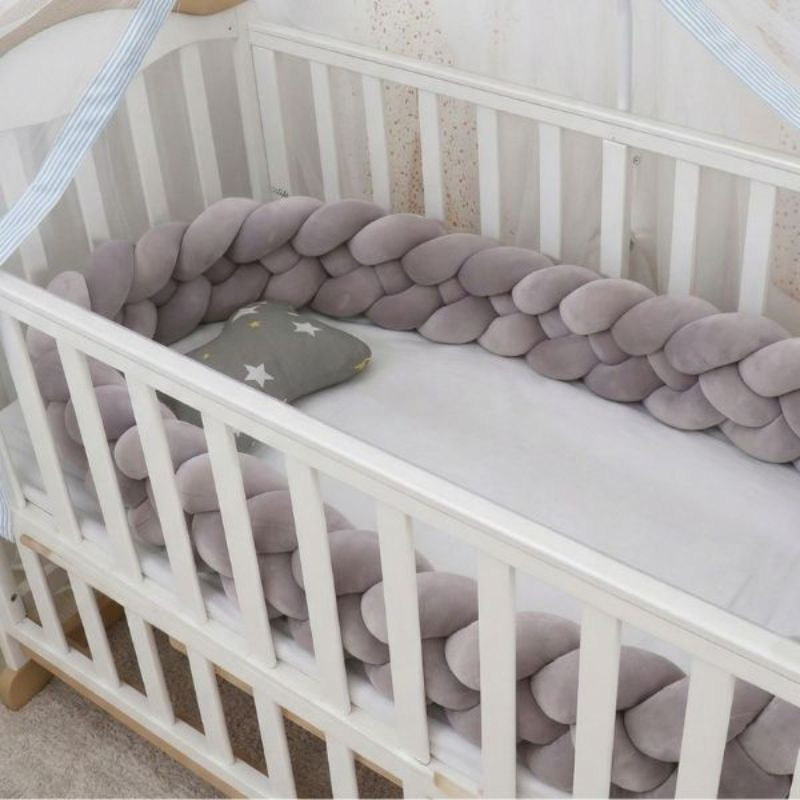
Make your own braided crib bumper – soft, cozy, and handmade.
- today
- perm_identity Agnieszka Dąbrowska
- label Practical Tips - kopia
- description You will read in 7 mins.
A braided crib bumper is not only a trendy decorative piece, but also a very practical item. It helps protect your little one from bumping into the hard bars of the crib or rolling off your bed, so it’s definitely worth having in your baby’s room. But did you know that instead of buying one, you can easily make it yourself?
In this post from our “Do it yourself” series, we’ll show you how to make a braided crib bumper in just fifteen minutes. For this project, we’ll be using soft, chunky velvet yarn with a thickness of 5 cm.
If you’d like to make a braid using yarn that’s 3–4 cm thick, check out this post.
Ready? Let’s get started!
Along with the written instructions, you can also watch our step-by-step video on YouTube.
What you’ll need:
- about 15 minutes of free time,
- a bit of enthusiasm,
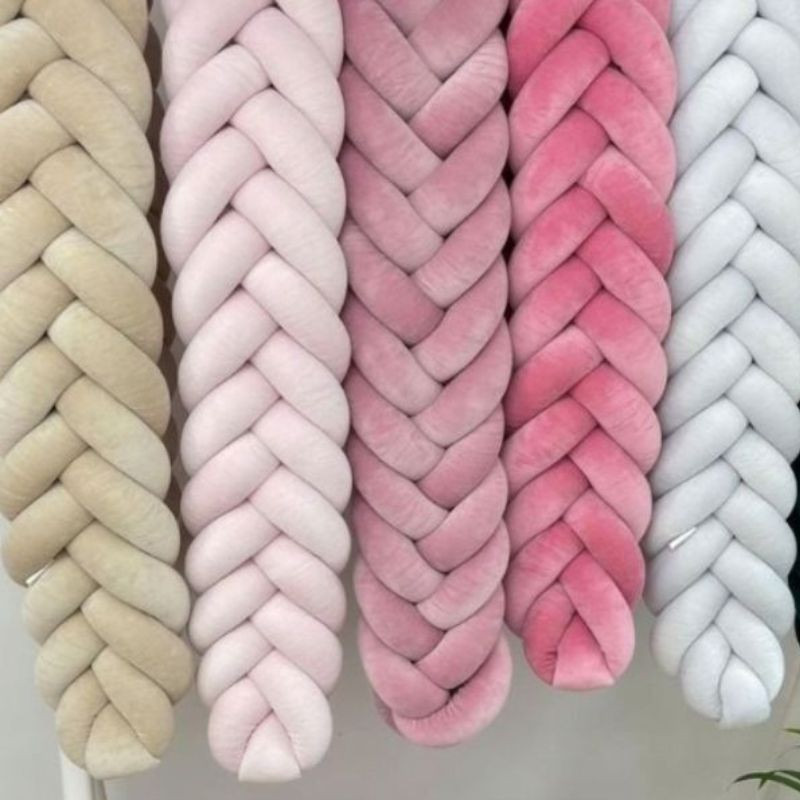
- 1 kg of chunky velvet tube yarn (5 cm thick).
What exactly is chunky velvet yarn? It’s a soft fabric tube filled with polyester stuffing. We’ve talked more about it on our Facebook page.
One kilogram of yarn is about 11 meters long and is enough to create a braid approximately 2.6 meters long and about 14 cm high. The final size depends on how tightly you braid it.
Got everything ready? Let’s begin!
Recommended products


Step-by-step:
1. Start by securing the ends of the yarn – slide about 1.5 cm of the fabric back, cut out the filling, and sew the loose fabric closed. Repeat the same steps on the other end.


2. Next, divide the yarn into three equal sections. Each part will be around 3.6 meters long, depending on the total length after securing the ends. To make it easier, you can mark the sections with ribbons.

3. Fold the yarn into three parts according to your measurements and arrange them so that one loose end sits in the fold of the other two sections. Then sew the loose end to the fold.

4. Now you’re ready to start braiding.
Most of you have probably braided hair or flowers at some point. And if not — well, it’s a good skill to learn :)
Braiding the yarn works almost the same way. The only difference is that instead of three loose strands, you have one loose strand and one folded double strand. While braiding, remember to gently rotate the long strand in the direction of the braid to prevent twisting. Below are some photos showing each step.


5. Continue braiding until you reach the end. Just like at the beginning, you’ll have one loose end and a folded section – sew them together the same way as before.

Congratulations – your braided crib bumper is ready, and you made it yourself! Now all that’s left is to place it in the crib.
We hope this guide makes everything clear and gives you confidence to create your own braided bumper.
You can find the yarn needed for this project in our shop. If you’re new here, be sure to sign up for our newsletter before purchasing to get a discount on your first order.
See you soon!
Recommended products


Photo gallery